Footstep 4: Floor

Another really cool option for visual control of your house is the Floorplan component, this will be covered in a stride of its own to get into the nitty gritty. But as a quick overview by:

  1. installing and enabling the component
  2. creating an image for your floorplan(s)
  3. adding entities to the image(s)

You will be able to control the elements of your home automation from a panel resembling your home layout linking the lounge light to the lounge area of your image, for example.

For some inspiration on what is achievable check out these search results. Everything from elegant top-down views to amazing three dimensional views.

The three simple overview steps above do make it seem simple to achieve this, but unfortunately it can be a bit fiddly. Once you get the hang of the process it’ll become second nature soon enough! It will be a good idea to have renamed your entities as the links required in the image itself need the name of the entity.

Next: Step 10: Detail

Footstep 3: Rename

You will have probably noticed that all the devices have a ridiculously long and inappropriate name. The motion sensor and it’s associated entities can amalgamate a massively long and cumbersome name .

Fret not, these names can be changed. In fact a good chunk of details can be customised through the built-in management interface provided by Home Assistant.

Configuration -> Customization

Through the customisation interface you can not only change the devices represented name, but the unit of measurement or any attribute the device has.

You can also edit just the names of entities through the entitity registry interface.

Configuration -> Entities

Renaming your devices and sensors makes sense, especially if you are expecting to buy multiple of the same type of sensor. In a couple of years time will you remember that fgms001-zw5_motion_sensor_1 is in the lounge and that fgms001-zw5_motion_sensor_2 is in the hallway!? You possibly will, but a way of guaranteeing that is to rename the devices to have a suitable and appropriate name.

Next: Step 9: Dash

Footstep 2: Config

Home Assistant can get a little confusing when it comes to Configuration. There are two separate config sections: Configuration and the Configurator. In fact due to this confusion Home Assistant have renamed the Configurator to the more suitable name of File editor.

Configuration

Configuration

This section allows for all the built-in graphical method of managing Home Assistant, if something is not available to control through the Configuration interface you need to use something like the Configurator to directly edit the YAML files.

Configuration Home Page

Out of the box, from the Configuration panel, you can manage:

  • Integrations
  • Devices
  • Entities
  • Areas
  • Automations
  • Scenes
  • Scripts
  • Persons
  • Zones
  • Users
  • General
  • Server
  • Customisations.

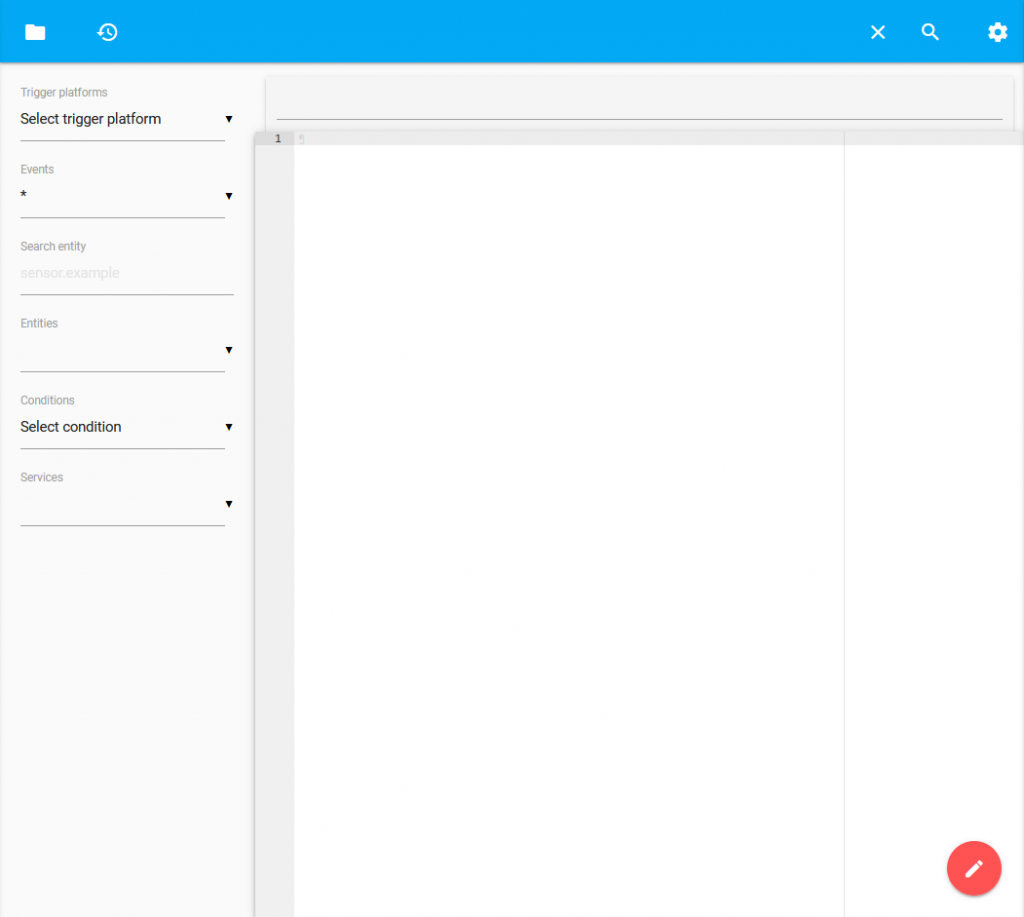
File editor (aka Configurator)

Supervisor -> File editor -> Open Web UI

Allows you to create, open, edit, save and delete files held within the config directory of Hass.io

Configurator Home Page

The guide will be specific when using either of these two sections. It is best to use the Configuration interface whenever possible, as it can provide drop down lists for many options making it much easier than knowing the specific YAML to setup integrations and entities.

Next: Step 5: Sun & Moon

Footstep 1: YAML

YAML Ain’t Markup Language, some believe it to be Yet Another Markup Language, but the official acronym is recursive.

YAML is a human friendly data serialisation standard for all programming languages.

# comment
function:
  - item 1
    data:
      - item 1a
      - item 1b
  - item 2
    data

Below is a real Home Assistant example, which will be covered in detail later in the guide, but shows the YAML to add a basic IP webcam.

# old android phone
android_ip_webcam:
  - host: 192.168.10.100
    port: 8080
    name: 'Cam 1'
    sensors:
      - battery_level
      - battery_temp
    switches:
      - torch
      - video_recording 

YAML is a little picky on the formatting and the right number of spaces is required. Luckily, Home Assistant Configurator shows a red warning exclamation (!) mark to depict invalid formatting and a green tick for valid.

The Server Controls in Configuration also allows to run a ‘Configuration validation’ check to confirm all configuration files are valid in formatting and expected values.

Next: Step 4: Looks