Footstep 4: Floor

Another really cool option for visual control of your house is the Floorplan component, this will be covered in a stride of its own to get into the nitty gritty. But as a quick overview by:

  1. installing and enabling the component
  2. creating an image for your floorplan(s)
  3. adding entities to the image(s)

You will be able to control the elements of your home automation from a panel resembling your home layout linking the lounge light to the lounge area of your image, for example.

For some inspiration on what is achievable check out these search results. Everything from elegant top-down views to amazing three dimensional views.

The three simple overview steps above do make it seem simple to achieve this, but unfortunately it can be a bit fiddly. Once you get the hang of the process it’ll become second nature soon enough! It will be a good idea to have renamed your entities as the links required in the image itself need the name of the entity.

Next: Step 10: Detail

Step 9: Dash

Let’s start making your Home Assistant setup looking a bit more friendly. By default you will just have one page showing all the active sensors and integrations not in any particular order.

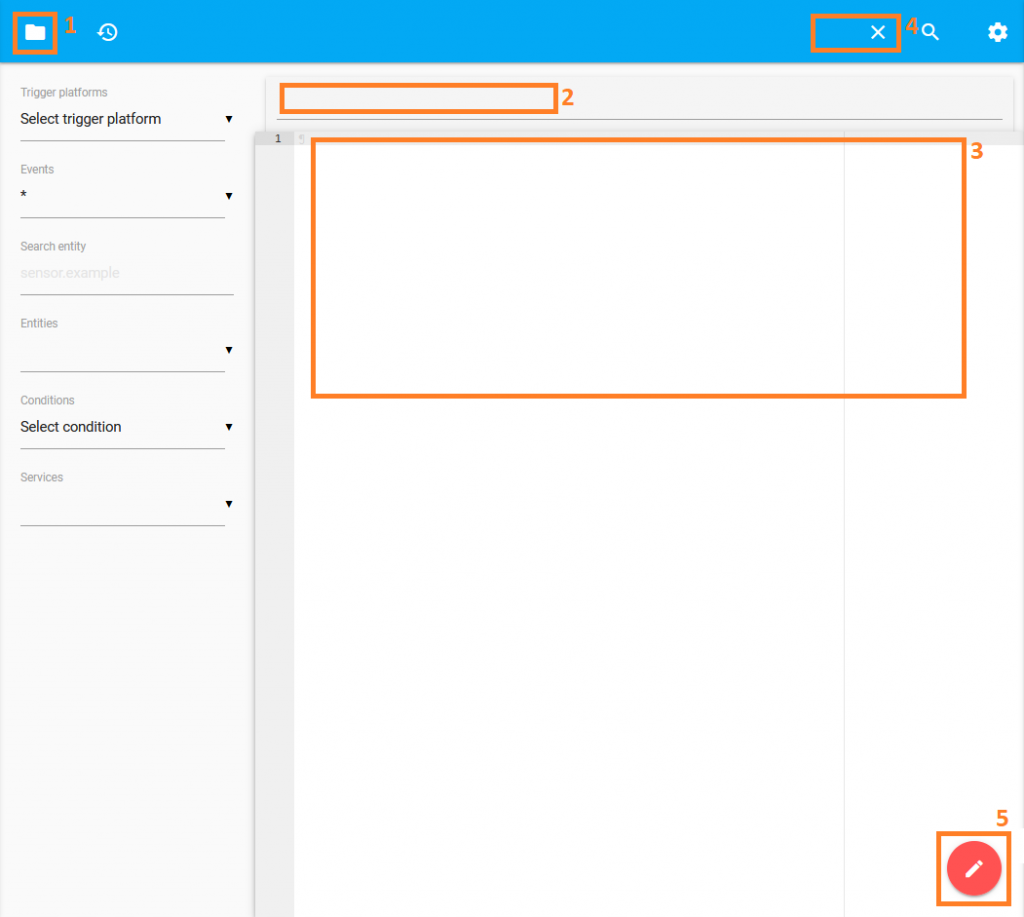
You can choose to manually manage the front end interface – known as the Lovelace UI – and for the most part you can configure this through the interface itself via the three vertical dots in the top right corner.

When you first select ‘Configure UI’ it will warn you that entities would be automatically placed as they are discovered and integrated, but once you manually start to control the UI you will have to add new entities and elements when and where you want them.

You’ll want to take a moment to think about how you want to interact with your home automation system and even how you want to layout your interface. Do you want a panel per floor of the house or per room? Do you want an overview page that summarises the status of the house? Do you want all that and more?

It is recommended to have a bit of a play to work out how you want to laydown the UI elements. Lovelace UI breaks items into ‘tabs’ which can have ‘badges’ and ‘cards’.

You can add as many tabs as you like and tabs can have multiple badges and cards within, you can even place cards inside of other cards such as the horizontal and vertical stack cards. You can also include custom cards that you have installed through HACS.

Conditional cards are really handy to show cards only when certain conditions are true or false. For example, you can setup your Chromecast to only show when powered or playing:

card:
   entity: media_player.cc
   type: media-control
conditions:
  - entity: media_player.cc
    state_not: 'off'
  - entity: media_player.cc
    state_not: unavailable
type: conditional 

The above card will show the control card for the ‘media_player.cc’ entity but only when it is not ‘off’ or ‘unavailable’.

The Android IP Webcam that was previously added to the Home Assistant can be directly viewed through a Picture Entity card and the sensors and switches managed through an entities card:

entities:
  - entity: sensor.cam_1_battery_level
    name: Cam Battery
  - entity: sensor.cam_1_battery_temperature
    name: Cam Temperature
  - entity: switch.cam_1_torch
    name: Cam Torch
  - entity: switch.cam_1_video_recording
    name: Cam Video Recording
type: entities 

The above entities card will show the battery and temperature levels and provide toggle switches for the torch and option to video record.

You can also use Glance cards to have a quick overview of a selection of entities. Remember all these elements can be used within horizontal and vertical stack cards for ultimate layout control.

entities:
  - entity: binary_sensor.motion_sensor_1_sensor
    name: Motion
  - entity: sun.sun
  - entity: sensor.moon
  - entity: sensor.phone_battery
    name: Phone
  - entity: sensor.tablet_battery
    name: Tablet
title: Overview
type: glance

All of the above code views of the Lovelace UI layout cards are just for demonstration purposes as these are all cards available directly through the interface configuration and can be added visually with drop down selections and manually edited if wished.

Don’t forget to add a card for controlling the dimmer switch and cards to view the temperature and/or luminance of the sensor.

Next: Step 10: Detail via Footstep 4: Floor

Step 4: Looks

Home Assistant doesn’t come out of the box with any themes, which is a shame – but there are loads available from the community.

In this part of the guide we are going to use the manual process of editing the frontend.yaml file to add a selection of themes, but later will show you how to enable HACS the Home Assistant Community Store. Although it is called a store there is no charge for adding any of the integrations, plugins or themes.

Home Assistant has a built in File editor (aka Configurator) which allows you to manually change any of the YAML files affecting the operation of Home Assistant. Most of these sections are configurable through the core Configuration panel, but some are still being migrated.

Accessing the File Editor is easy:

Supervisor -> File editor -> Open Web UI

You can also enable the ‘Show in Sidebar’ option which will give you a direct link to the Web UI of the Configurator. Especially useful at the beginning as you’ll often flick back and forth between that and the Server Controls in Configuration to restart the system and enable the changes. This is why using the built-in Configuration panel is preferred as it allows for many automatic changes without restarting.

Unfortunately, frontend theme configuration is still done directly through the YAML files (or HACS), but will use this opportunity to demonstrate how to use the File editor.

Configurator Home Page

The above screen shot of the File editor shows the core sections:

  1. File selector
  2. File name being edited
  3. File contents
  4. Save and close file
  5. New file

For this setup we are going to add some themes, so by using the file selector (1) you can choose ‘configuration.yaml’ which is the main configuration file.

We are going to add an include statement that allows us to offload the frontend configuration into another file so that the main file doesn’t get difficult to read.

frontend: !include frontend.yaml

Adding this to the ‘configuration.yaml’ file tells Home Assistant to look for and use a file called ‘frontend.yaml’

Therefore, after saving (4) and then using the new file (5) option you can create a ‘frontend.yaml’ file and add the themes into it (3).

Obviously you can write your own theme and there is some detail about how in Home Assistant documentation, but another option is to use someone elses frontend.yaml.

Due to manually editing the ‘frontend.yaml’ you’ll need to restart Home Assistant for it to re-read the configuration files.

Configuration -> Server Controls -> Server management -> Restart

Then select via the user profile what theme you want to use or get Home Assistant to set it for you depending on a sensor value, such as the Sun…

Next: Step 5: Sun & Moon via Footstep 2: Config